40 degrees, experienced some of the craziest weather over the weekend - intermittent hail storms, lightning and thunder, occasional sun, rainbows.
Us, James Bay
In my
cookbook, there’s a photo of the four year old version of me covered in pudding. I talk about how my mom had an affinity for pudding from a box, and how it was one of the familiar flavors from my childhood, an inexpensive survival food we often had in the cupboard. On the special occasion that we made the stovetop version instead of the instant just-add-milk-and-stir variety, I always looked forward to eating the pudding warm straight from the saucepan before it took a trip to the fridge, as my mother taught me to do. It would be years before I would learn to make pudding from scratch, and even longer before I would land on the perfect recipe, but I still spoon the warm pudding from the pan just as I always have.
This from scratch vanilla pudding recipe is a little bit magical. It’s one of those recipes I have made so many times that I have it memorized and make somewhat instinctually. Each time I make it, I’m still amazed by how it works, and think to myself that I should probably let you all in on this magic.
Many a home cook and pastry chef have run into the classic pudding problem: milk burned to the bottom of the saucepan. You can stir and stir and stir until your arm gets tired and still end up having to scrub the bejesus out of the pan when you’re done. And, your pudding will end up with a tinge of burnt flavor. No bueno.

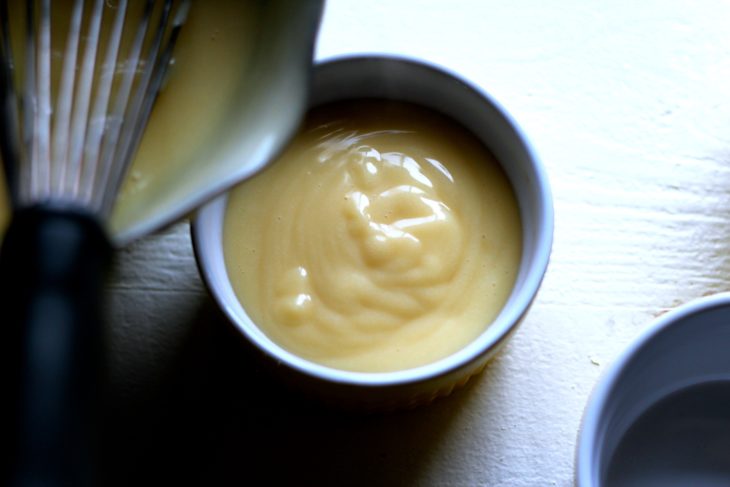
Here is what makes this vanilla pudding magical: you don’t stir it until the very end. You leave it undisturbed on the stove for most of the cooking time. I know you’re scoffing. I know you don’t believe me. I’d be scoffing, too. But, trust me. It works. You place a pot on the stove (it doesn’t have to be non-stick; I used stainless steel). Pour in two cups of milk. Sprinkle 1/2 cup sugar evenly over the milk to cover the entire surface area of the pan. Then, you turn on the burner and wait. Do not stir it. At all. Just wait for it to begin to boil. You’ll be nervous that the milk is burning to the bottom of the pan, but it’s not. The sugar on the bottom of the pan somehow prevents this from happening. I’m no scientist, so I can’t tell you how it works. That’s why I call it magic.
Creamy Homemade Vanilla Pudding
- 2 1/2 cups milk, divided
- 1/2 cup sugar
- dash of salt
- 2 egg yolks
- 3 tablespoons cornstarch
- 1 teaspoon vanilla
- 2 tablespoons butter
Place a saucepan on the stovetop. Pour 2 cups of the milk into the saucepan, reserving the other 1/2 cup. Sprinkle 1/2 cup sugar evenly over the milk to cover the entire surface area of the bottom of the pan. Add a dash of salt. Do not stir. Turn the burner on to medium. Leave the milk and sugar undisturbed until it begins to bubble and boil, while you do the next step.
Meanwhile, in a small bowl, whisk together the remaining 1/2 cup milk, egg yolks, and cornstarch until smooth and yellow. As soon as the contents of the pan begin to boil, pour the egg yolk and cornstarch mixture directly into the pan and being whisking immediately. Whisk continuously for 60 seconds, until the pudding thickens. Remove the pudding from the heat and whisk in the vanilla and butter until melted and smooth. Pour the pudding into 6 ramekins. Refrigerate to chill through.
Note: The pudding can also be used as the base for a cream pie, icebox cake, or trifle. At our house, we enjoy it with banana slices and crumbled graham crackers or vanilla wafers.